Controling Tabs

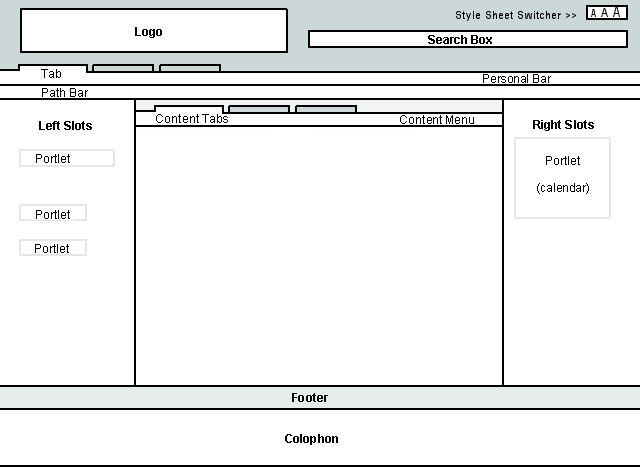
How to change the tabs (Home, News, etc) at the top of your Plone portal.
In this section we explain how to:
- Not show the tabs put there by default in the out-of-the-box Plone
- Make a new tab
- Change tab order
- Make tabs only appear after login or for certain roles
1) Automatically generated tabs
As of Plone 2.1, the tabs on the top will automatically be
generated based on the folders that exist in the root of your Plone
site. You can rename, re-order and create new tabs by going to the root of your Plone site and clicking the contents tab.
If you want to turn this behaviour off, you can go to Site setup, Navigation settings, and untick the box Automatically generate tabs.
Since Plone 2.0, and still in Plone 2.1, you can also manage tabs manually using the portal_actions tool in the ZMI:
2) - Making tabs not appear
Say you want to get rid of the "Home" tab from the top of the portal.
Go to the Zope Management Interface (ZMI) in Plone Setup, and then to the portal_actions tool.
In this list, there are lots of different items, look for the things you want to not show (the tabs at the top have category portal_tabs). Untick the Visible checkbox on the items you do not want to appear in the portal.
3) - Making a new tab
First, create a folder in root of your Plone site from the Plone
interface (not the ZMI). This is the new folder your new tab will link
to. Make a note of the Short Name you give it, you will need this for the tab definition later.
Then, go to the ZMI and into the portal_actions tool (as in the first part of this how-to). Scroll down to the bottom of the page and you will see a form to add a new action.
Here you do the following:
- Enter the Short Name you made a note of earlier in the
Idfield. The reason these have to be the same is to get selection highlighting of the tab to work correctly. - Type the name you wish to appear in the tab itself into the
Namefield. - Type
string:$portal_url/my-short-nameinto theURL (Expression)field. Replacemy-short-namebeing the Short Name of the folder you created earlier and made a note of. Make sure there are no spaces in what you just typed. - Leave the
Conditionfield empty. - Select
Viewfrom thePermissionfield drop down menu. (Quick way to do this - since there are so many entries - is to select the pulldown, and press theVkey on your keyboard.) - Type "portal_tabs" into the
Categoryfield. - Tick the
Visible?box. - Click
addat the bottom of the form.
4) - Changing tab order
To change the order in which the tabs appear on the page, change their order in the ZMI by moving them above or below each other.
Go to the ZMI and then to the portal_actions tool, as explained earlier. Then select the box to the left of the item you want to move and then click on Move down or Move up buttons, next to the Save and Delete buttons near the bottom of the list of items.
- To disable the tabs
- Click on
portal_actions- Located: at your
siteroot
- Located: at your
- Uncheck
Visiblefor all theActionswith theCategoryofportal_tabs - Click the Save button on the bottom of the form